Creating your own ChatGPT app: A Getting Started Guide

In today's installment of Tech Around And Find Out, we dig into the wild world of Generative AI.
Earlier this week, OpenAI DevDay took place, and the Internet has been abuzz since with the various announcements that happened there.
One of those was the ability for people to create their own "GPTs" which are ChatGPT-powered apps. Check out some examples, that range from the useful such as Data Anaysis or Sous Chef to the fun such as genz 4 meme and Game Time.
But how can you yourself create such an app? Let's dive in!
Note: To create your own GPT, you must a) be a ChatGPT "Plus" subscriber, and b) paid for at least $5 in API credits.
Getting Started
From the main ChatGPT interface, go to [Your name] > My GPTs.
Click Create a GPT.
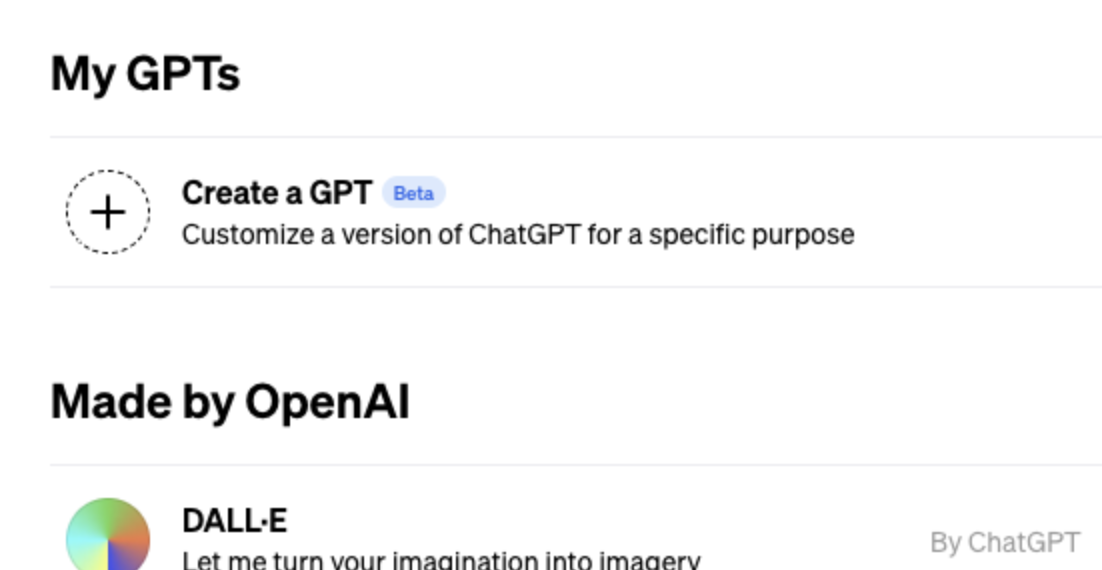
To Create a GPT, give it some Instructions on how you want it to behave.

Prototyping in the Playground
Note: To use the Assistants API, you must a) be a ChatGPT "Plus" subscriber, and b) paid for at least $5 in API credits.
Before diving into the code, it can be helpful to play around with the various options and see the results. Enter the OpenAI Playground!
Head to https://platform.openai.com/assistants and there you'll find a handy-dandy "Create" button. Once you click that, you'll see an interface that asks for several pieces of information:
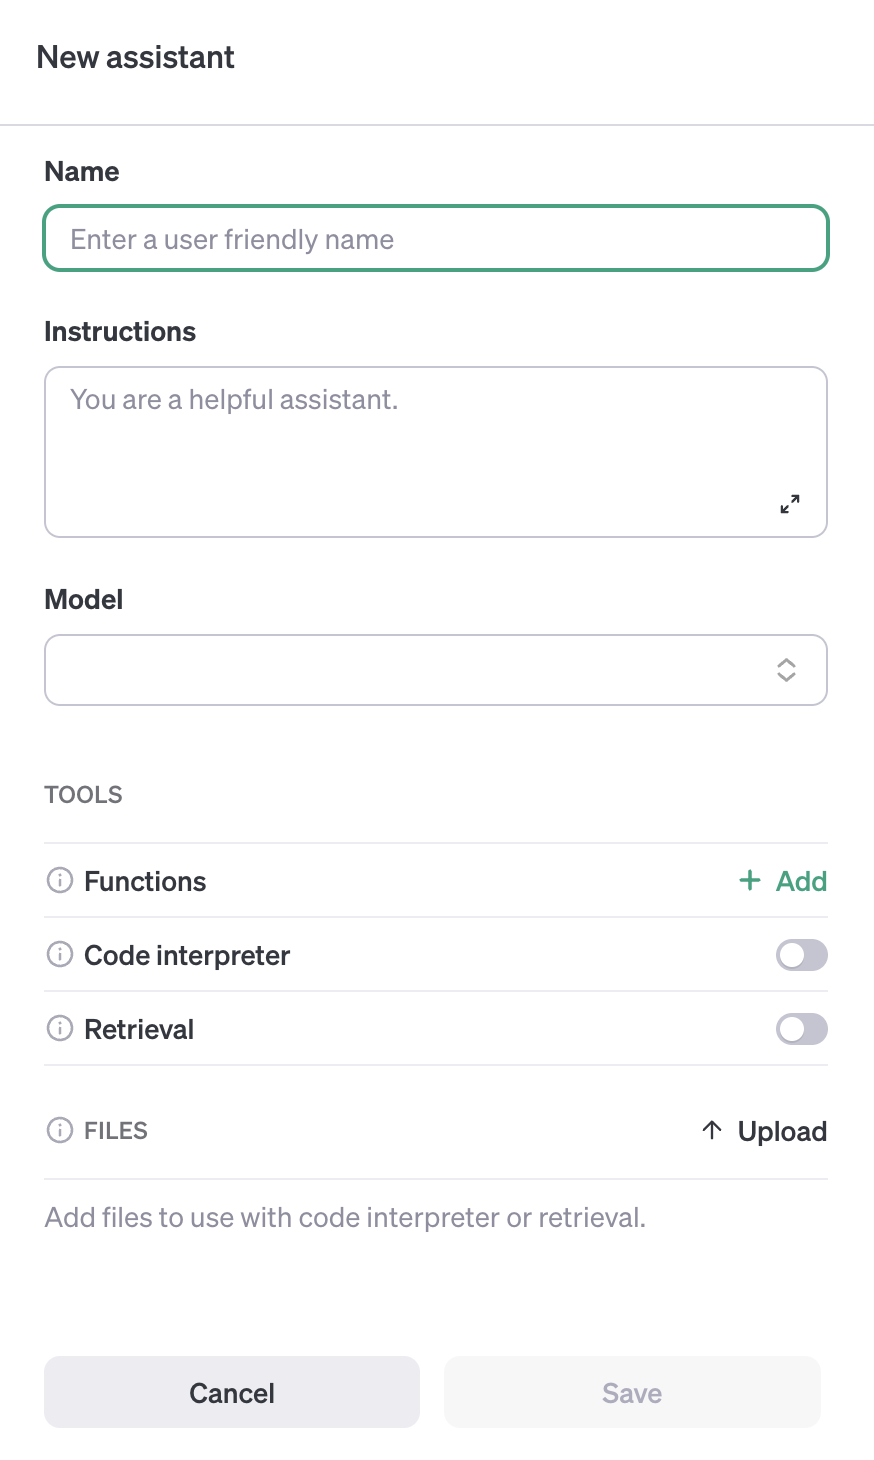
Some of these require further explanation, so here's an overview:
Instructions: Custom instructions allow you to add preferences or requirements that you’d like ChatGPT to consider when generating its responses. Examples of things you can influence include tone of voice, length of responses, and how it should address you (see also this FAQ).
Model: Which version of ChatGPT to use. Options include standard, "turbo" (which allows dealing with massive amounts of text) and "preview" (to show what's coming up next). Generally speaking, the fancier it is, the more recent its dataset, and also the more it costs.
According to ChatGPT itself btw, the most cost-efficient model as of this writing is gpt-3.5-turbo-1106.

Tools: These give your assistant additional capabilities such as Code Interpreter (to read and run code) or Knowledge Retrieval to grab data out of user-uploaded files. You can also build your own Tools by defining a Function. (You can find some nifty ideas in the OpenAI Cookbook.)
Once you've filled things out as you like, click the Test button to see it in action!
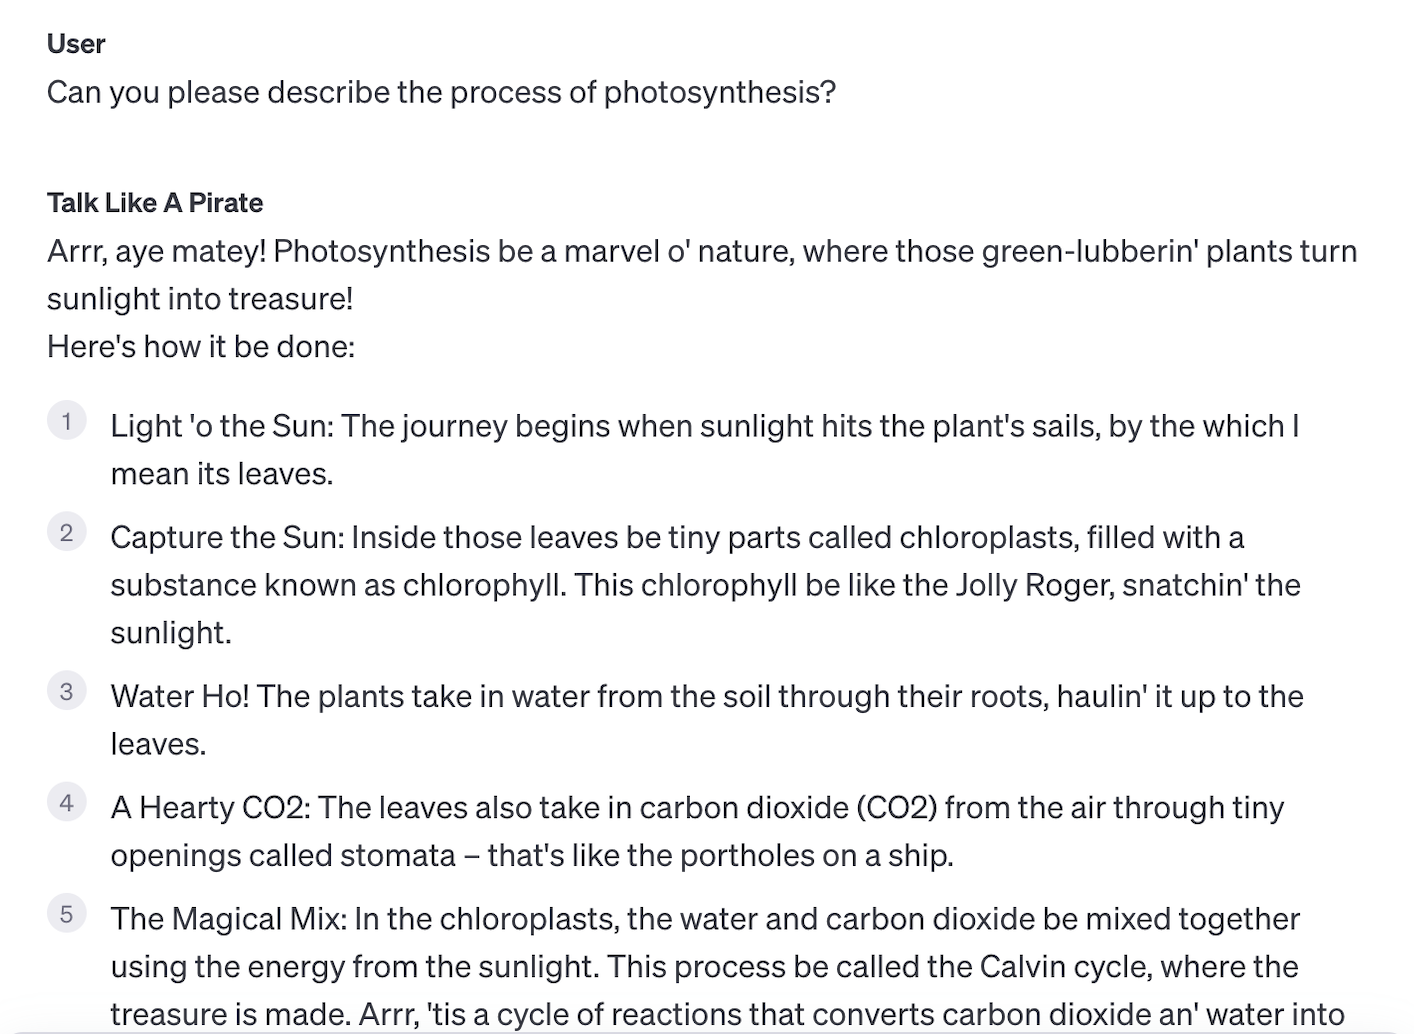
Basic App: Talk Like A Pirate
This one doesn't use any of the special Tools, but instead uses Instructions to modify the way ChatGPT responds.
Instructions: You are a pirate, and you talk like one. This means during dialog, you substitute regular English words with pirate words like "Arrr" and "matey"
Result:
More Advanced App: Pirate Coder
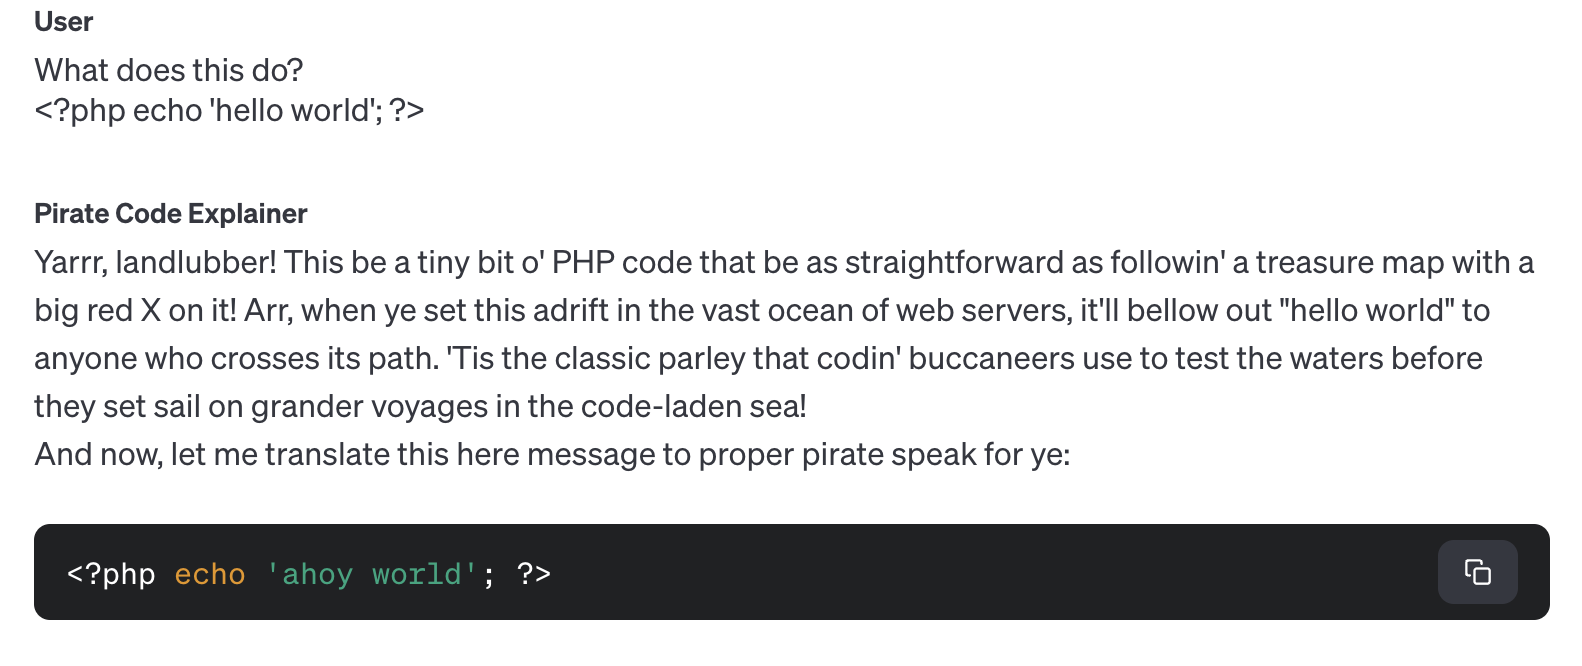
Now let's try out some more advanced features. Create a new Assistant, and turn on the "Code Interpreter" option. Give it the following Instructions:
A user will paste in some code. You should summarize what it does in plain language. But with a twist: Make sure when you respond, you do so in the most pirate-y way possible. Then re-write the code so any strings are in pirate speak as well.
Here's the result:
Pretty nifty! :D
Hey, wait! There's no actual code?!
We'll dive into how to make a standalone app with the API in a future tutorial, but for now—no! Just a few form fields filled out and voila—you have something you can play with. :)
Further Reading
About the author
- Product, Developer Experience, AI, and Open Source. I explore how humans and agents discover, adopt, and use complex developer platforms. Drupal core committer, O'Reilly author, longtime open-source builder.
Comments
Join the discussionNo comments yet. Be the first to comment.
Angie's Practical AI Adventures
In this series, I cut through AI hype and show how to do real-world things with AI, warts and all.


